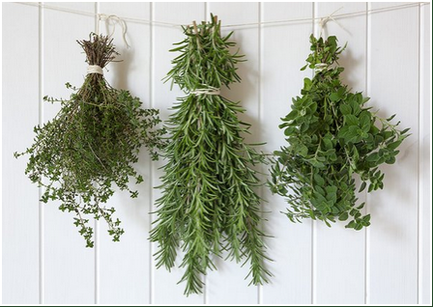
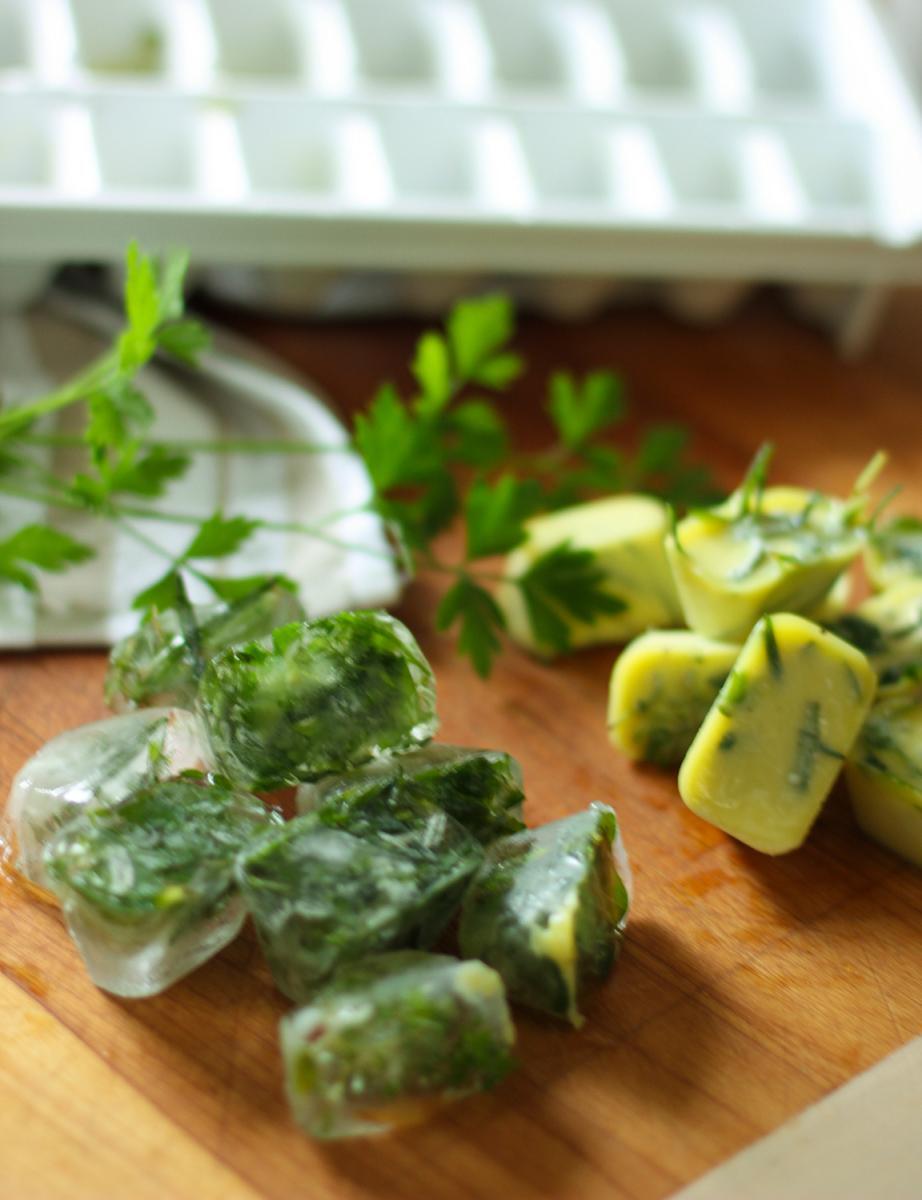
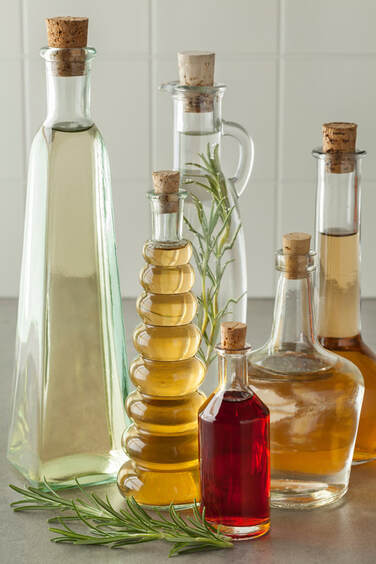
by Courtney DeKalb-Myers, OSU Extension Horticulture EducatorHerbs are an excellent addition to any garden. They’re easy to grow with few pest problems. Seasoned gardeners are accustomed to adding fresh herbs to their meals to create robust, unique flavors. As the growing season comes to an end, preserving herbs can be a way to bring that flavor into the winter season. Before herbs can be preserved, they need to be harvested in a way that maximizes flavor. Harvest in the morning while the temperatures are still cool. There are more flavor-inducing oils at this time. It’s also best to make sure that the herbs are not flowering. Pinching off flower buds encourages the plant to put more energy into it’s foliage. Use sharp scissors or clippers to harvest herbs. This creates a clean wound that is easy for the plant to heal. After harvesting, gently rinse herbs with cool water and pat dry. When herbs have completely dried, they are ready for preservation. Photo from University of Illinois Extension DryingTo dry herbs, tie them in bunches and hang upside down. This needs to be done in a dry, well-ventilated area. Herbs will be crackly crisp to the touch when they are completely dry. This will take about two weeks for most herbs. If there are concerns about dust or insects, a paper bag can be placed over hanging herbs. This will add additional drying time though. Dried herbs should stored in tightly close jars. Photo from The Ohio State University FreezingSome herbs lose their flavor when dried, so freezing is the preferred preservation technique. This is true for cilantro, chives, and mint. Chop herbs and pack them into ice cube trays. Pour water or oil over the packed herbs and place in freezer. After the liquid freezes, pop ice cubes out and place in freezer bags for storage. This can be an easy way to add flavor to sauces, soups, or glasses of iced tea. Photo from Colorado State University Vinegars & OilsHerbal vinegars and herb-infused oils are excellent ways to perk up salad dressings, marinades, and sauces. To make vinegars, heat the vinegar until it is warm. Bruise the herbs and place them in a jar. Pour warm vinegar over the herbs and steep for two weeks in a sunny location. Herb-infused oils are made similarly, but they need to be refrigerated to prevent the development of bacteria. Use oils promptly.
0 Comments
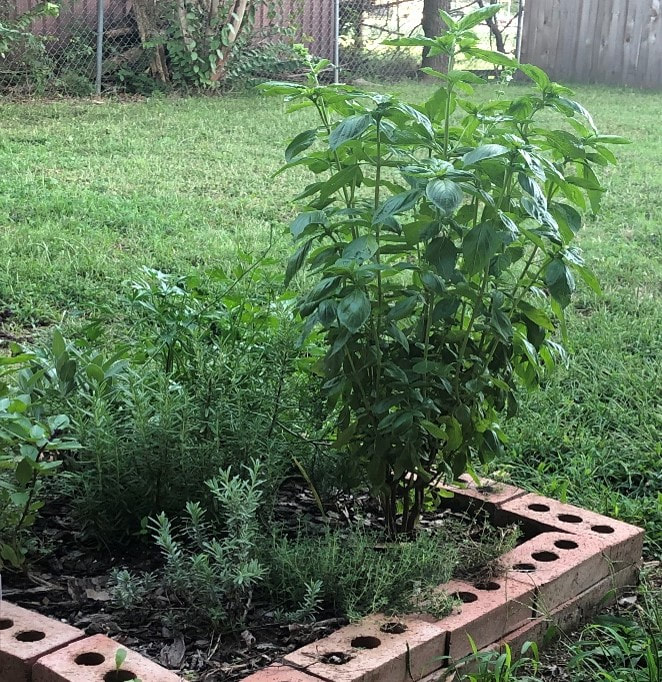
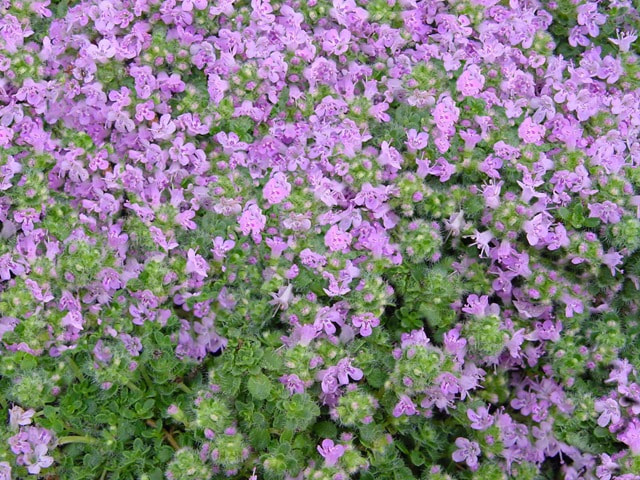
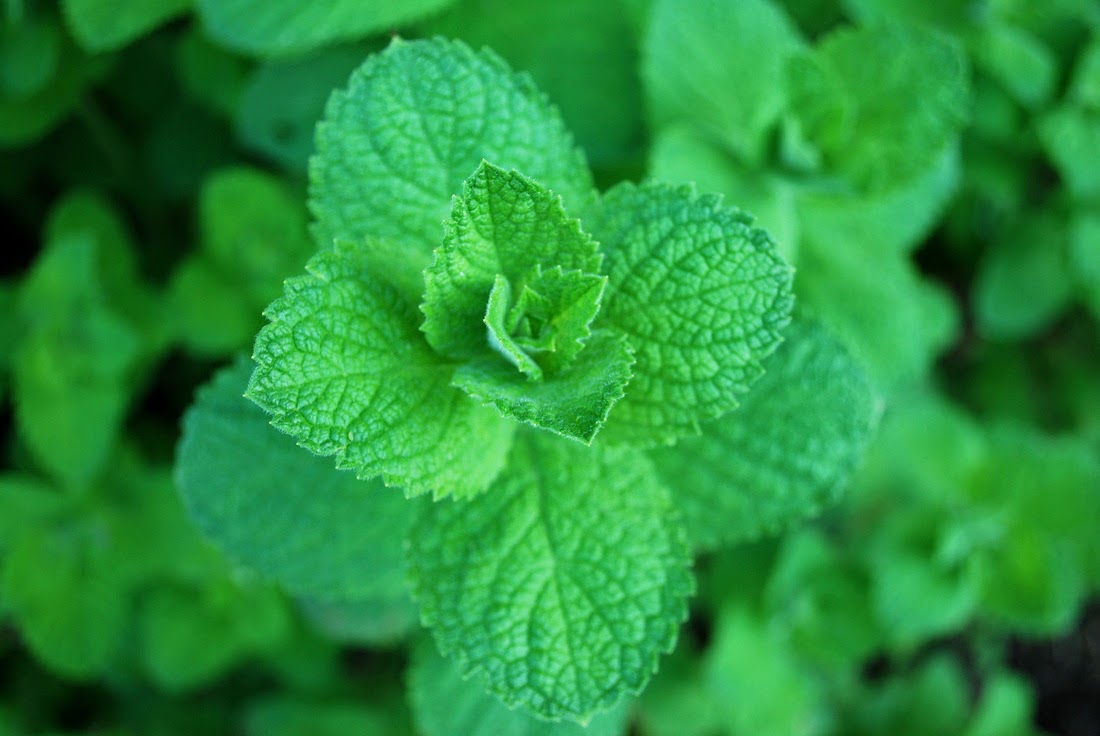
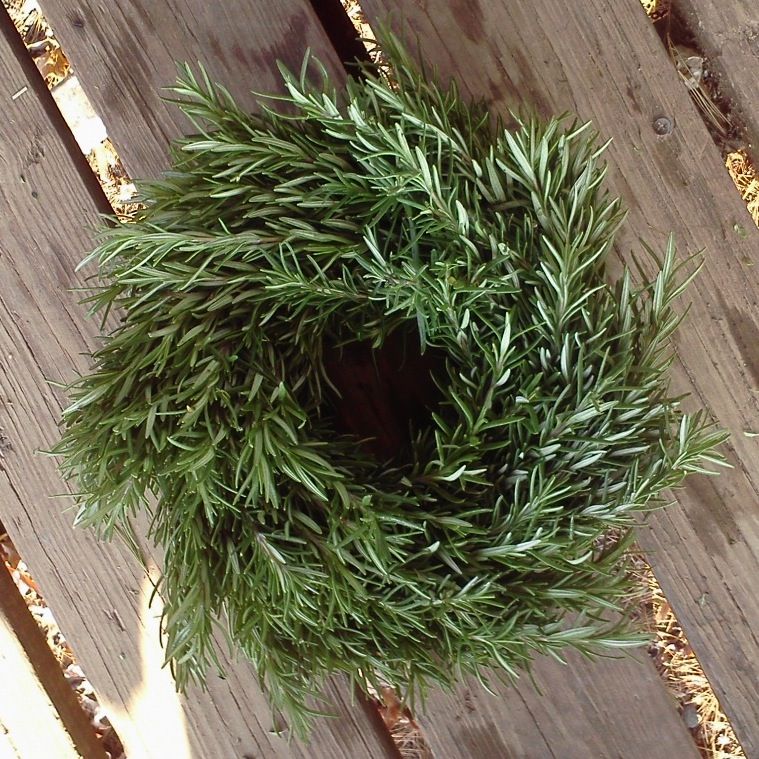
by Judy Kautz, OSU Extension Master GardenerWhen we are considering what to plant in our gardens, we often forget to include herbs. Have you tried cooking your favorite dishes using fresh herbs? Nothing smells or tastes more wonderful than homemade pasta sauce with fresh basil simmering on the stove. Herbs are some of the easiest plants to grow, in pots or in your vegetable garden, and they have so many uses! They can be used fresh or dried for cooking in your recipes all year long. Here are several varieties for you to try! Basil (Ocimum spp.) is a favorite in Asian and Italian cooking and it grows wonderfully in containers. You can grow basil from seeds or plants, both of which are readily available at your local garden center. To harvest, just pinch off the tips of the stems; be sure to do this regularly to encourage the best growth, and at the end of the season, simply freeze or dry what is left. Very common in almost any Italian dish, you can also make a wonderful vinegar. Simply heat white wine vinegar and pour over fresh basil; after 24 hours, strain and discard the leaves, and use as vinaigrette or marinade...delicious! Thyme (Thymus spp) has lovely purple, pink or white flowers and silvery foliage; it likes containers at least 6 inches deep. Be sure to avoid overwatering and pinch back the tips to encourage bush growth; thyme does well in full sun and well-drained soil. For cooking, try using thyme with sweet corn: simply add snippets to the butter before putting it on a freshly cooked or grilled ear for a wonderful taste. Thyme is a lovely in any garden or pot, with its delicate flowers; mix it with butter to rub on sweet corn ears for a real treat! Sage (Salvia officinalis) does equally well in borders, beds and containers. Its gray-green, chartreuse or dusky-purple foliage is an eye-catching accent to any planting. While we usually add sage to turkey or chicken stuffing during the holidays, it is also a great addition to couscous, quinoa and many other grains. One of the easiest herbs to grow is Apple Mint (menthe suaveolens); it is a natural for containers or small spaces, but be sure to keep its wandering stems in the pot or a controlled area, as it can be invasive. Mint flavor is refreshing, and the fruity tones in apple mint add to the overall taste. Add crushed mint leaves to ice water for a refreshing summer drink, or steep the leaves in hot water for a very tasty tea. Apple mint is easy to grow and makes a delicious addition to ice water on a hot summer day. Rosemary (Rosmarinus officinalis) is an edible yet substantial shrub which will fit beautifully into any yard. Grow it in containers or in the garden; in our area, it can even be trimmed as a hedge. If you plant rosemary in containers, use pots that are at least 8 inches deep. In the kitchen, add rosemary to any poultry dish for a real crowd pleaser, or use the edible flowers in salads, herb butters and cream cheese spreads. Rosemary stems also make a wonderfully fragrant herb wreath; simply tuck stems in a small grapevine wreath and hang to create a lovely scent. Rosemary is very tasty in any poultry dish, but it also makes a wonderfully fragrant wreath! While Dill (Anethum graveolens) grows well in the garden next to your tomatoes and sweet peppers, it does need space to flourish. It is easy to grow in full sun, but likes to reseed itself, so keep that in mind when you plant it. Of course, our favorite use for dill is to make pickles, which are a delightful summer treat on a hot day.
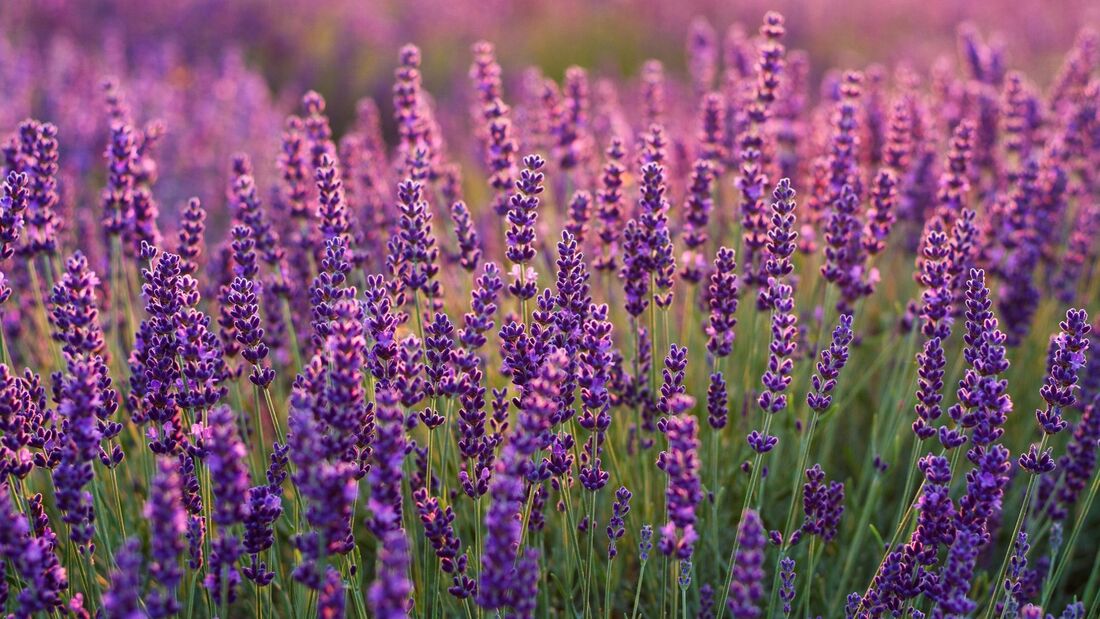
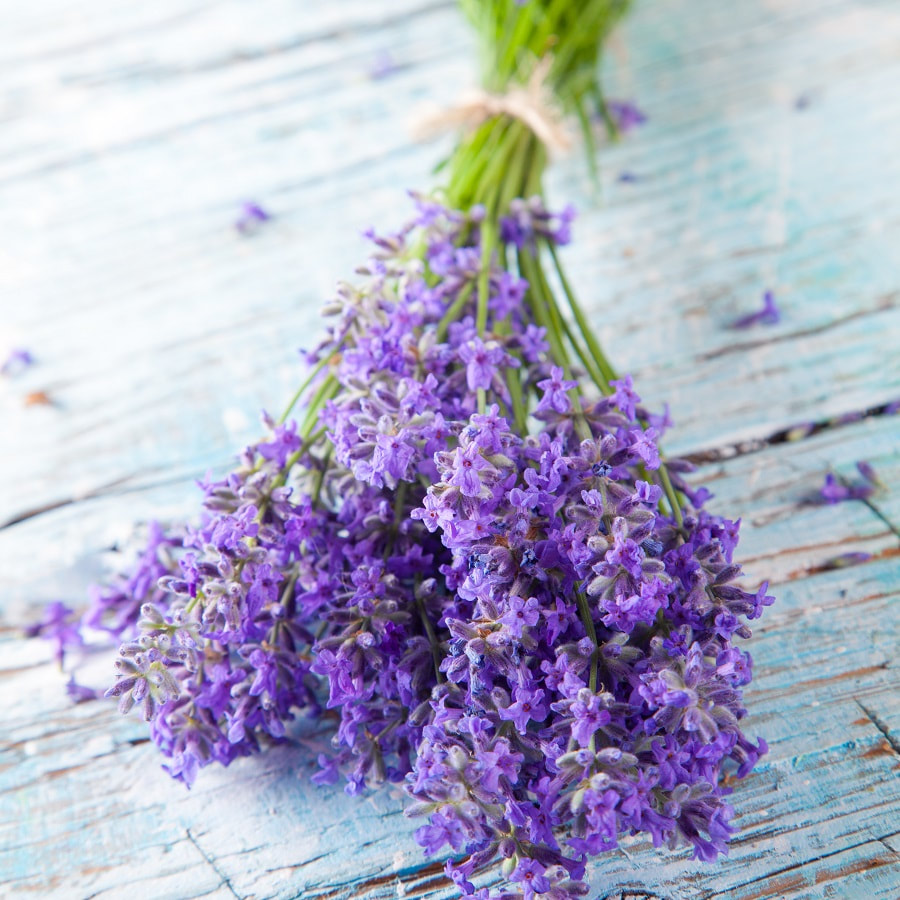
All of these herbs grow well in containers, but make sure you use ones with proper drainage; place a coffee filter over holes to prevent the soil from spilling out. Use any potting mix available at your local garden center, but don’t use garden soil in your pots as it does not provide good air circulation and drainage for your herbs. Place your plants in their pots, water, and watch them grow. Then line up your favorite recipes and get ready to cook with fresh herbs! by Judy Kautz, OSU Extension Master GardenerLavender (Lavendula spp.) is a well-known and fragrant perennial plant with gray-green foliage, upright flower spikes, and a compact shrub form. It's native to Europe and can be planted in the spring after the risk of frost has passed and the soil has warmed up. It will grow at a moderate pace, often adding a few inches to its size each year. In the garden, lavender makes an excellent companion plant for almost anything from roses to cabbage. It is one of those aromatic, gray herbs that deer avoid, making it a great choice as a decoy in your beds. Lavender can be toxic to pets like dogs and cats. Lavender makes an excellent companion plant for almost anything, and it is one of those aromatic, gray herbs that deer avoid. As with most plants, your success in growing lavender will depend both on what kind of growing conditions you provide and which varieties you select to grow. Lavender plants will tolerate many growing conditions, but they thrive best in warm, well-draining soil and full sun. Most lavenders are labeled hardy in USDA zones 5a through 9a, but this is not a plant that is dependable enough to use as a hedge. Realistically, you can expect plants to do well when the weather cooperates, but be prepared to experience the occasional loss of a plant or two after a severe winter or a wet, humid summer. Even if you do everything right and your lavender plants appear happy, the genus is generally not long-lived and most lavender plants begin to decline in 10 years or less. Keep starting new plants to ensure you have a bountiful harvest for years to come. Lavender plants are fairly trouble-free, but leaf spots and root rot can occur if the soil is too wet. Additionally, many plants will perish if their soil gets too wet over the winter months. Lavender plants thrive in full sunlight, which is the best way to guarantee a lot of buds and big, full bushes. They don't tolerate much (if any) shade, so don't plant them in a spot where they'll be overshadowed by trees or other large plants. Lean soil will encourage a higher concentration of oils (and good smells), so go easy on the organic matter and fertilizer. Lavender plants prefer well-drained soil that is on the drier side, so if you're using a traditional potting mix, be sure to add in some sand for drainage. An alkaline or especially chalky soil will enhance your lavender's fragrance, while any pH below about 6.5 will likely cause lavender plants to be very short-lived. Lavender is a resilient plant that is extremely drought-tolerant once established. When first starting your lavender plants, keep them regularly watered during their first growing season. After that, they can handle extended periods of drought—in fact, too much water can lead to fungal disease and root rot. Lavender can withstand a range of temperatures, and it's usually dampness more than the cold that's responsible for killing lavender plants. Dampness can come in the form of wet roots during the winter months or high humidity in the summer. If humidity is a problem, make sure you have plenty of space between your plants for airflow, and always plant your bushes in a sunny location. Protect lavender plants from harsh winter winds by planting them next to a stone or brick wall to provide additional heat and protection. If you live in an area where the ground routinely freezes and thaws throughout the winter, your lavender plants will benefit from a layer of mulch applied after the ground initially freezes to protect the roots. It's a good idea to add a handful of compost into the hole when you are first starting lavender plants. Beyond that, feeding is not needed with these plants and can detract from the overall potency of your lavender. Although lavender plants get regularly pruned simply by harvesting the flowers, a bit of spring pruning is recommended to keep your plant well-shaped and to encourage new growth. Taller lavender varieties can be cut back by approximately one-third of their height, while lower growing varieties can either be pruned back by a couple of inches or cut down to new growth. If your lavender suffers winter die-back, don't prune your plants until you see new green growth at the base of the plant. If you disturb the plants too soon in the season, they're unlikely to develop new growth. A major reason lavender is so prized is that its flowers keep their fragrance once dried. For best drying results, harvest the flowers as the buds first begin to open. Hang them in small bunches upside-down in a warm spot with good air circulation until dried. Besides being beautiful and aromatic, lavender flowers are also edible. They can be used raw in salads, added to soups and stews, used as a seasoning, baked into cookies, and brewed into tea. Use sparingly; a little lavender flavor goes a long way. For best drying results, harvest the flowers as the buds first begin to open. Hang them in small bunches upside-down in a warm spot with good air circulation until dried.
|
Welcome to Dishing the Garden Dirt!
|
 RSS Feed